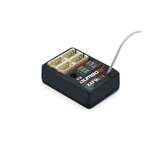
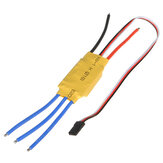
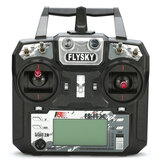
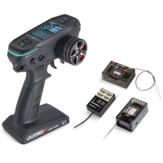
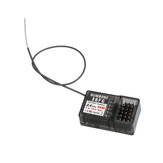
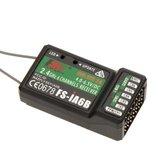
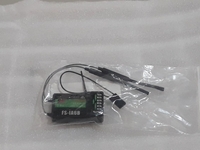
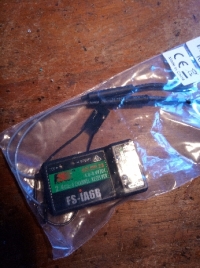
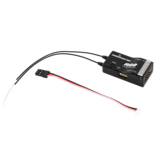
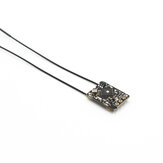
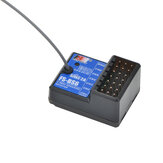
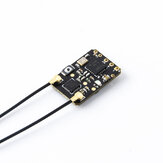
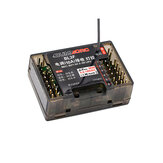
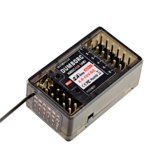
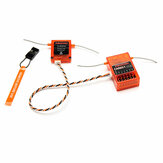
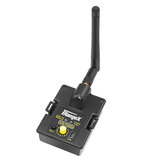
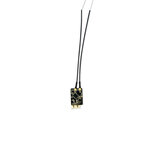
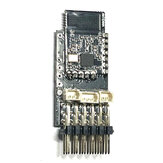
مستقبل FlySky 2.4G 6CH FS-iA6B بمخرج PPM مع منفذ iBus
US$10.99
تمت ترجمة جزء من المراجعة تلقائيًا.

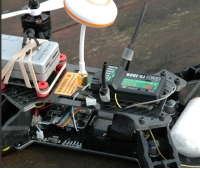
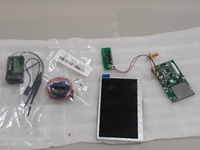
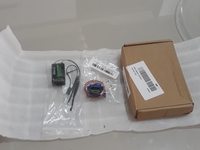
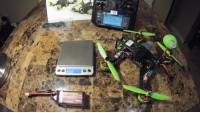
Using this on an Eachine 250 Racer with Flysky-i6 transmitter. Range and reliability is extremely good. Price is unbeatable. Two-way data link allows monitoring of Racer battery voltage and low battery alert (using the RC groups mod to monitor external voltage instead of RX voltage - that is the yellow wire emerging from a small notch made in the casing at the joint line in the attached photo). I have tried a Flysky CVT01 voltage measurement module which works well but the Flysky-i6 transmitter does not allow me to set a low voltage alert for the measurement returned by the CVT01 - so the RC groups mod is better in this respect.

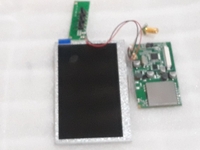
مستقبل رائع، يتجاوز مدى كيلومتر واحد بسهولة مع مجموعة يد قياسية. وأكثر من 8 قنوات تستخدم الـ إيبوس للحصول على وزن أكبر وحجم أفضل، أزل الغطاء البلاستيكي واقطع الدبابيس، ولحام بدلاً من ذلك


Works GREAT! with my new FS-i6. Great to have the expanded range and two way communication. Thanks Bangood And FlySky!

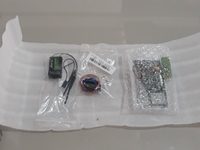
المنتجات وصلت بشكل مثالي فقط مكتب البريد من هنا أخذ وقتا أطول كان لديه الدعم الكامل من بانجود. دائما يوجهني مع الطلب. ولم تكن أول ولا آخر مرة أشتري فيها المزيد شكراً لك يا بانجو.


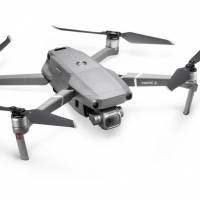
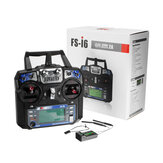
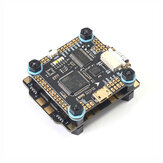
It's green! You gotta love this quad (packaging, components, price)! I can't imagine a better first-time FPV racing quad. The F3 color scheme really comes alive in low light conditions because the individual ESC's, PDB, and rear LED strip all glow green. Mine came ready-to-fly. I didn’t need to put this ‘on the bench’ to bind the transmitter or setup the ESC’s, flight controller, etc. Here’s the steps I took: Step 1: Install the antenna on the VTx port on the top plate. This is very important because the Video Transmitter (VTx) would otherwise overheat and fail within minutes of plugging the battery into the quad. Step 2: Ensure the props are NOT installed. Again, this is an important precaution when first introducing the transmitter to the quad's receiver. Step 3: Feed the battery strap through the long slits on the top-plate. Strap down the battery but DO NOT apply power to the quad. Step 4: Turn on the transmitter and place all switches up, and spin the rotary dials fully CCW to their stops (10 o'clock position). Also retard the throttle to idle/cutoff (fully aft). Step 5: Power the quad and wait for beep sequence from the flight controller. You should see a steady red light on the VTx just under the quad's top plate. And NO red light on the flight controller. If the VTx red light is blinking then you may need to bind the Tx with the Rx (reference YouTube "FS-i6 binding"). If the flight controller is flashing red, then repeat Steps 4 & 5 until you hear the flight controller sing. Once the red light on the flight controller extinguishes, flip the SWB (long switch at upper left side of the FS-i6 Tx) down to '2'. The red light on the flight controller should re-appear to indicate 'armed' (and dangerous). Now (without the props installed) you can goose the throttle to check for proper Tx/Rx binding and control. Step 6: Open both bags of props and take out a pair of each. CW=silver nuts; CCW=black nuts. That is '5x4P' (with CCW arrow) on the right-front and left-rear motors, and the '5x4R' (with CW arrow) on the left-front and right-rear. Tighten down the prop nuts Step 7: Open the Instruction Manual to page 4 and note the 3-position SWC switch functions. 1=Auto (self-leveling like toy-quads and camera drones); 2= Mixed (horizon mode combining self-leveling with flips at full stick deflection; not useful in windy conditions); 3=Manual (acro mode with no self-leveling; best learned with a simulator or XK X100 or other light-weight acro quad). In other words, first-time FPV racer pilots should ensure SWC is in position '1' for the first flight of this Kingkong 210GT racer! Step 8: Go fly! Enjoy!!!! (or first test and setup FPV as available) Step 8: Disarm the quad using SWB in position '1'. Unplug the battery on the quad, then turn off the transmitter.


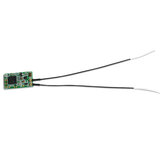
أفضل جهاز استقبالي ذو سعة 5 إنشات يصل أو يُصبح جناحاً أخرج المُستقبِل من الغلاف واقصّ الدبابيس لخلطها أكثر ضِغطاً وخفّاً. كان لديها أكثر من 3.5 كيلو متر مع هذا. لا يمكن أن يخطئ

Heb deze gekocht voor combinatie met turnigy tgy-i10 zender en werkt even goed enige verschil is de veel lagere prijs en dat zonder dure verzendingskosten. Gewoon wat langer hoeven te wachten op levering.

I used it .it's very use full for flying quad .


Great product, high quality and works fine in PPM - iBus connection with FlySky FS-i6.


منتج ممتاز كما هو موضح في الإعلان جميع 🆗 تعمل بشكل مثالي للاختبار والموافقة عليها.


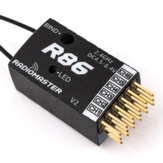
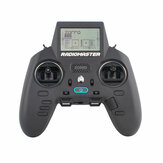
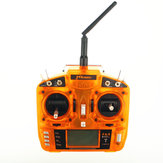
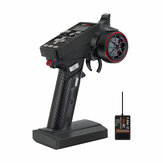
راديوماستر آر 88 ڤي 2 2.4 جيجاهرتز 8 قناة متوافقة مع فرسكاي D8/D16 SFHSS PWM/Sbus استقبال
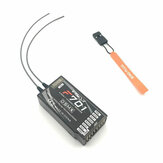
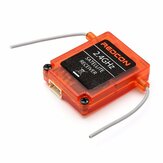
F701 2.4GHz 7CH تلقائي فائق المدى PPM DSMX/DSM2 لجهاز إرسال JR Spektrum DX6I DX7 DX9

Flysky FS-BS6 Mini Receiver مع نظام تثبيت الدوران Gyro لجهاز الإرسال GT2E/IT4S/GT5

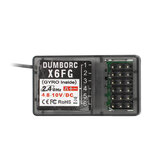

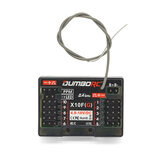
DumboRC X6DC(G) 2.4 جيجاهرتز 6CH استقبال RC مع دعم جيرو لجهاز إرسال الراديو X4 X5 X6 X6PM
CYCLONE ELRS 2.4GHz 7CH PWM RX مستقبل برتوكول CRSF لطائرات RC FPV Racing
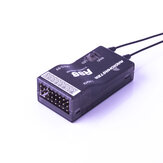
2.4G 6CH S603 استقبال RC مدعوم بواسطة جهاز الإرسال JR Spektrum DSM-X DSM2
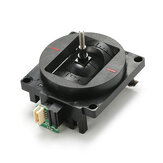
حامل شاشة مراقبة ترمسيتر Radiolink FPV لجهاز التحكم اللاسلكي RC4GS V2 RC6GS V2
2.4G 6CH CM651 DSM2 DSMX استقبال متوافق مع القمر الصناعي لجهاز البث اللاسلكي
iRangeX IRX4 بلس 2.4G CC2500 NRF24L01 A7105 CYRF6936 4 في 1 وحدة ARM TX متعددة البروتوكول مع الحافظة
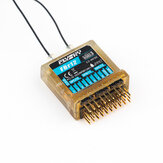

جهاز إرسال Flysky FS-i6 2.4G 6CH قطع غيار الدواسة / الاتجاه مقعد الحملة الرئيسي
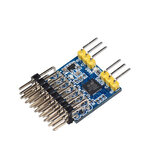
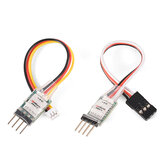
وحدة تحويل إشارة JHEMCU SPP 8CH تدعم الناتج SBUS PPM PWM للمستقبل


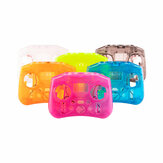
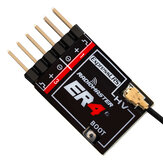
راديوماستر راديو جيب اختياري اللون الشفاف حالة المرسل ملحقات DIY
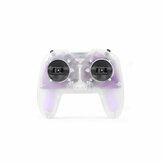
Radiomaster ER4 2.4GHz 4CH ExpressLRS ELRS RX مستقبل PWM دعم الجهد الطائرة F3P RC سيارة قارب دبابة
HGLRC C1 2.4GHz 8CH تحكم عن بعد مدمج مستوى الدخول ELRS لطائرة درون FPV DCL Liftoff DRL RC Racer